
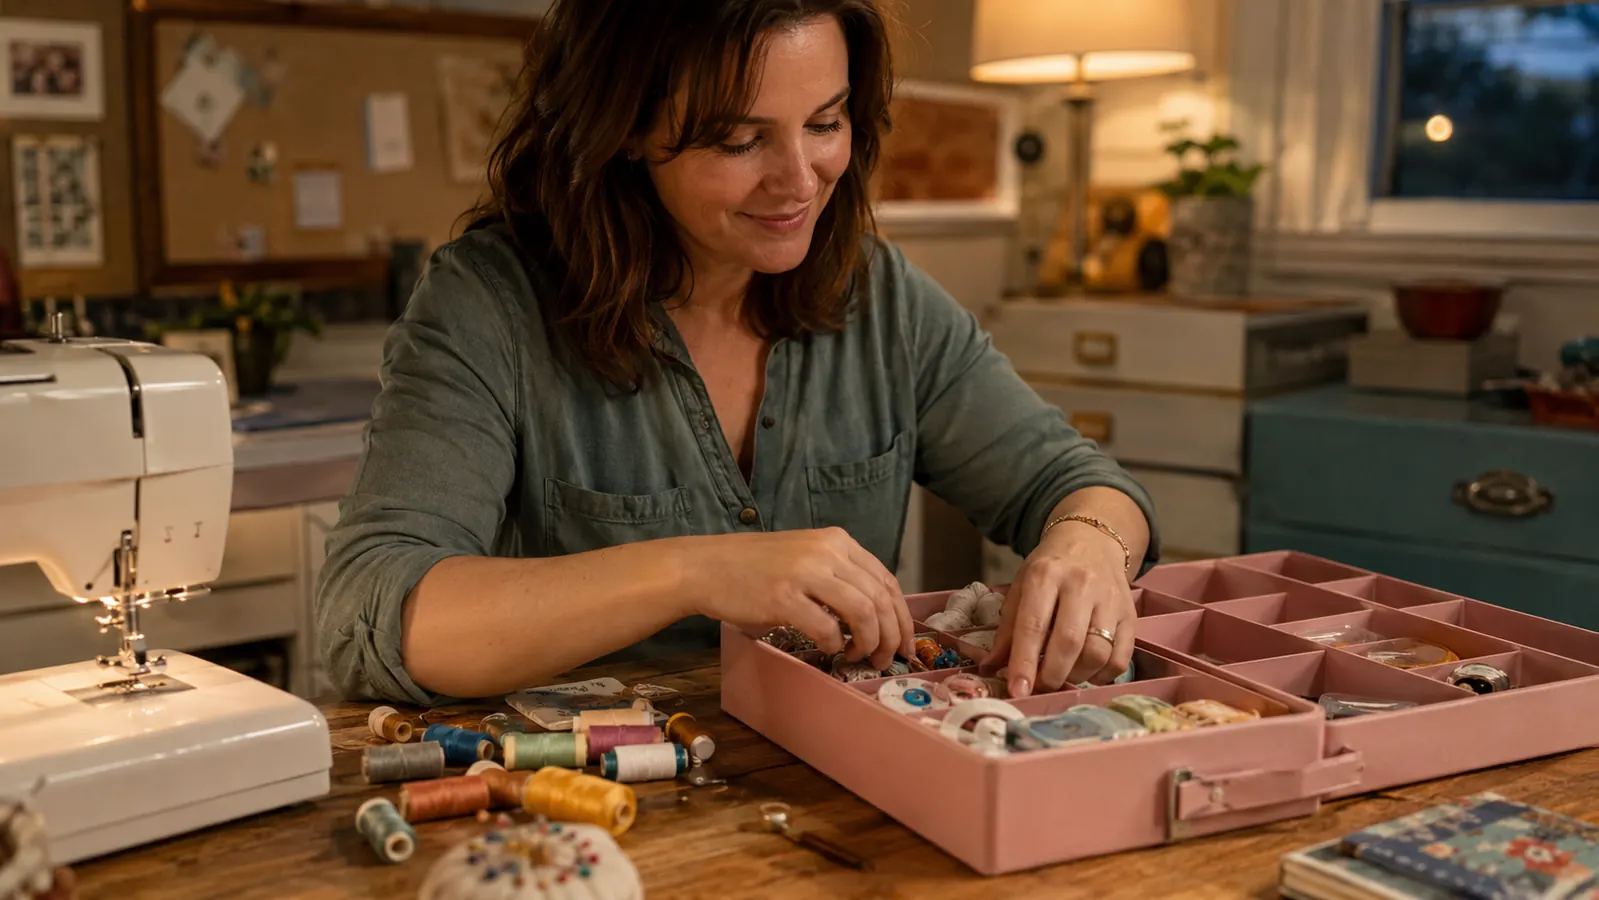
Every sewing project at my house used to start the same way: fifteen minutes of digging through a pile on the table before I could even thread a needle. Bobbins mixed in with buttons, three pairs of scissors and never the good ones, and my daughter Callie's beading supplies dumped wherever there was space. I sew most Sunday nights after the kids go down, and I got tired of losing half my sewing time to a scavenger hunt on my own table.
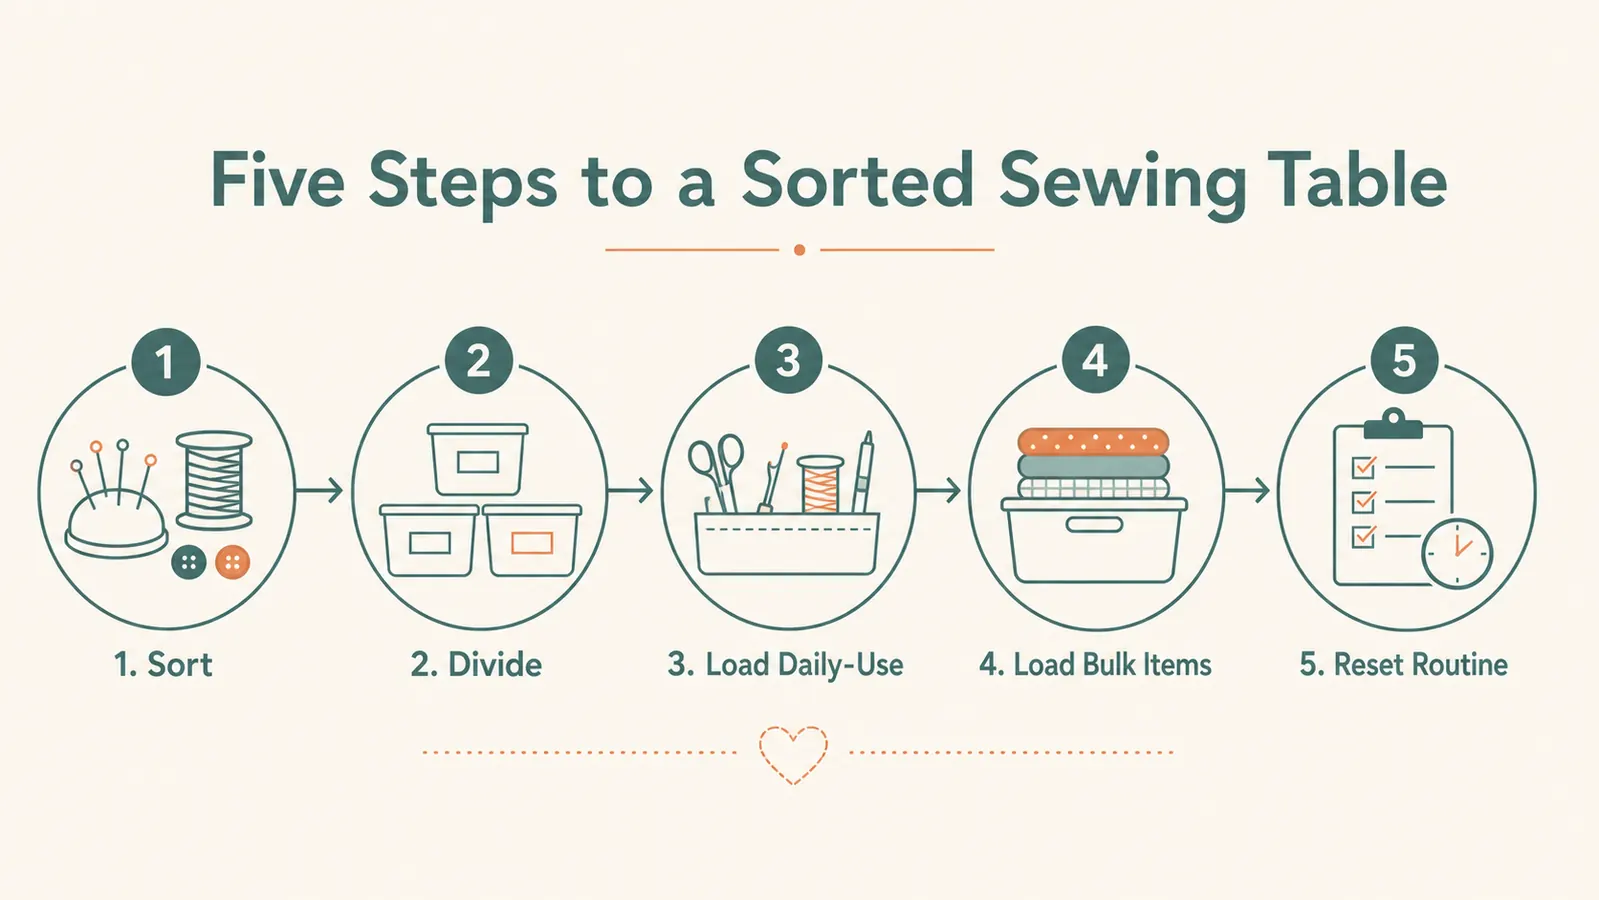
What finally fixed it wasn't a bigger table or a fancier sewing room. It was a system for sorting everything into a portable divided case, in my case a pink 3-layer craft organizer from TERGOO, and following the same five steps every time I use it. This is that exact system, written out so you can copy it whether you're setting up a new craft organizer for the first time or trying to rescue one that's already turned into a junk drawer with a handle.
None of these steps require a special weekend or a Pinterest-worthy craft room. I did this whole process at my kitchen table over two evenings while dinner was still on the stove, and it's held up through baby quilts, a solid year of Sunday sewing nights, and Callie's beading phase. If your table currently looks the way mine did, you can realistically be sorted by this time next week.
Tired of hunting for a bobbin before you can even start sewing?
This is the organizer I use to keep my whole sewing table sorted in five simple steps. Check today's price and current availability on Amazon before your next project.
Amazon Check Today's Price on Amazon →Step 1: Dump everything out and sort into piles before you touch the organizer
This step feels backwards, but skip it and you'll just be moving clutter from one container to another. Before I ever loaded my organizer, I cleared my entire sewing table and dumped every loose item into the middle: spools, bobbins, pins, seam rippers, Callie's beads, everything. It looked worse before it looked better, and that's normal.
From there, I sorted into rough piles by category rather than by size or color. Thread went in one pile. Bobbins and pins went in another. Small tools like my seam ripper and scissors got their own pile. Bulkier things, Callie's beading kit and a half-finished cross-stitch project, went into a fourth pile. I didn't worry about exact counts yet, just broad groups.
If you have a genuinely large collection, do this sort in two sessions rather than trying to power through in one sitting. I split mine across two evenings the first time, because trying to sort an entire sewing habit's worth of supplies in one go left me more frustrated than organized.
This is also the point where you'll find the stuff you don't actually need anymore. I pulled out two dried-up glue sticks, a broken zipper foot, and enough dust bunnies to embarrass me. Setting those aside in a fifth "toss or donate" pile before you sort anything into the organizer keeps you from giving a permanent home to things that should've gone in the trash years ago.
Step 2: Set your dividers to match your actual piles, not a template
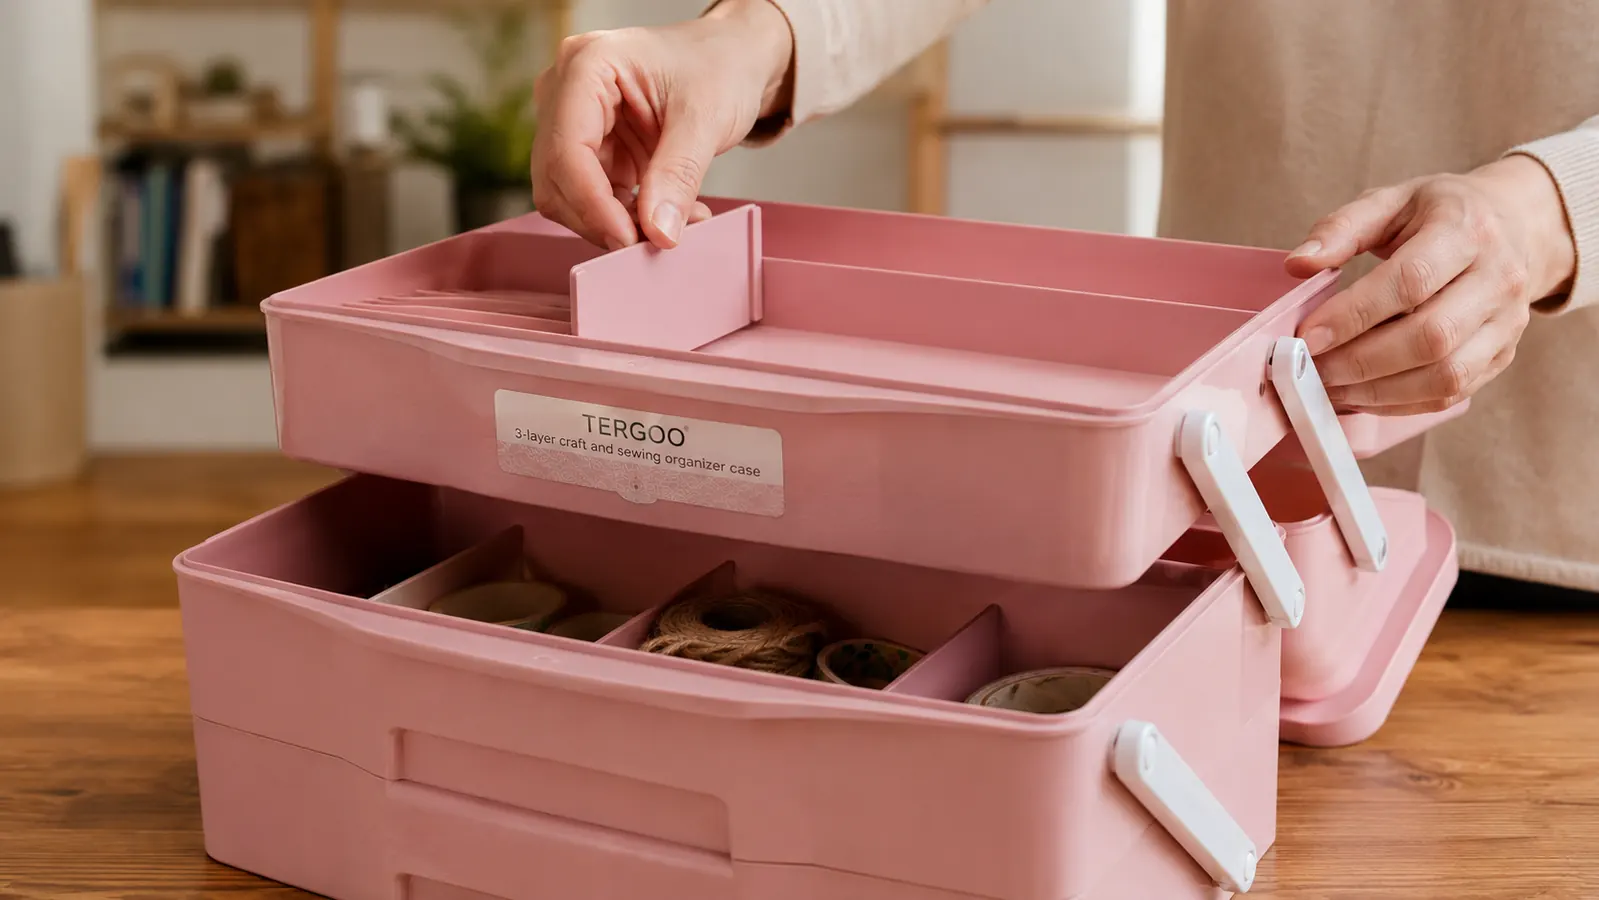
Once you can see your categories laid out, look at the organizer's tray layout before you decide where anything goes. The TERGOO case has three trays, a shallow top tray, a hinged middle tray, and a deeper bottom compartment, and each top and middle tray has plastic divider walls that slide into grooves so you can resize the compartments.
I set my top tray dividers based on how many actual thread colors I own, not some guess at what a normal collection should be. That meant more, smaller compartments for thread and fewer, wider ones for bulkier small tools like my seam ripper. It took about ten minutes of sliding dividers around before the layout matched my real piles instead of a generic grid.
Resist the urge to overfill any single compartment just to avoid resizing dividers. If a section is packed so tight that thread pops over the wall when you tilt the TERGOO case, that's a sign to widen it now rather than dealing with mixed-up spools every time you carry it out to the porch, which is where I do a lot of my sewing while Callie plays in the yard.
Don't be afraid to leave one or two compartments empty on purpose. I keep one open slot in the middle tray for whatever project I'm actively working on, whether that's a set of buttons for a specific quilt or a new pack of needles I haven't broken into yet. A little breathing room means you're not immediately fighting the layout the first week you use it.
Step 3: Load the top tray with what you touch every single session
The top tray is the one you'll open every time you sit down, so it should only hold what you genuinely reach for during a normal sewing session. In my TERGOO case that's active thread spools, my seam ripper, a small pair of scissors, and a pin cushion. Anything I use less than once a week doesn't earn a spot in that top layer.
Be honest with yourself here. I initially tried to cram my entire thread collection into the top tray, including colors I hadn't used in over a year, and it made the whole tray cramped and hard to search through quickly. Once I moved the rarely-used colors down to the bottom compartment, the top tray actually became fast to use again.
A good gut check is timing yourself. Once your top tray is loaded, sit down like you're starting a real project and see how long it takes to find your most-used thread color and your scissors. If it's under ten seconds, the layout is doing its job. If you're still hunting, something that belongs in the middle or bottom tray is probably still crowding the top.
Step 4: Load the middle tray with small parts, and the bottom with bulk
The middle tray on a three-layer organizer usually lifts out on a hinge, which makes it the right home for small parts you sort by type rather than grab constantly, things like bobbins, safety pins, and spare needles. I keep mine sorted by the same adjustable dividers, with bobbins in one section and pins in another, so I'm not fishing through a mixed pile mid-project.
The bottom compartment is usually the deepest, and that's where bulkier or less frequent items belong. In my house that's Callie's beading kit and my cross-stitch project. If you quilt, this is also a reasonable spot for a folded fat quarter or two, though I wouldn't count on it as your main fabric storage. It's a supplies organizer, not a fabric bin.
Think of the bottom tray as your once-a-week zone rather than your everyday zone. I only open mine when Callie asks for her beads or when I'm starting a new cross-stitch piece, which is usually every couple of weeks. That lower frequency of use is exactly why it can hold bulkier, less-organized items without slowing down your actual sewing sessions.
Once everything has a tray and a compartment, close the case and test the handle by carrying it somewhere. I take mine out to the porch table or, on quilting swap weekends in Georgetown, out to the trunk of my Honda Pilot. If anything shifts or rattles loudly during that short carry, go back and widen that section's divider before you consider the setup finished.
What Else Helps
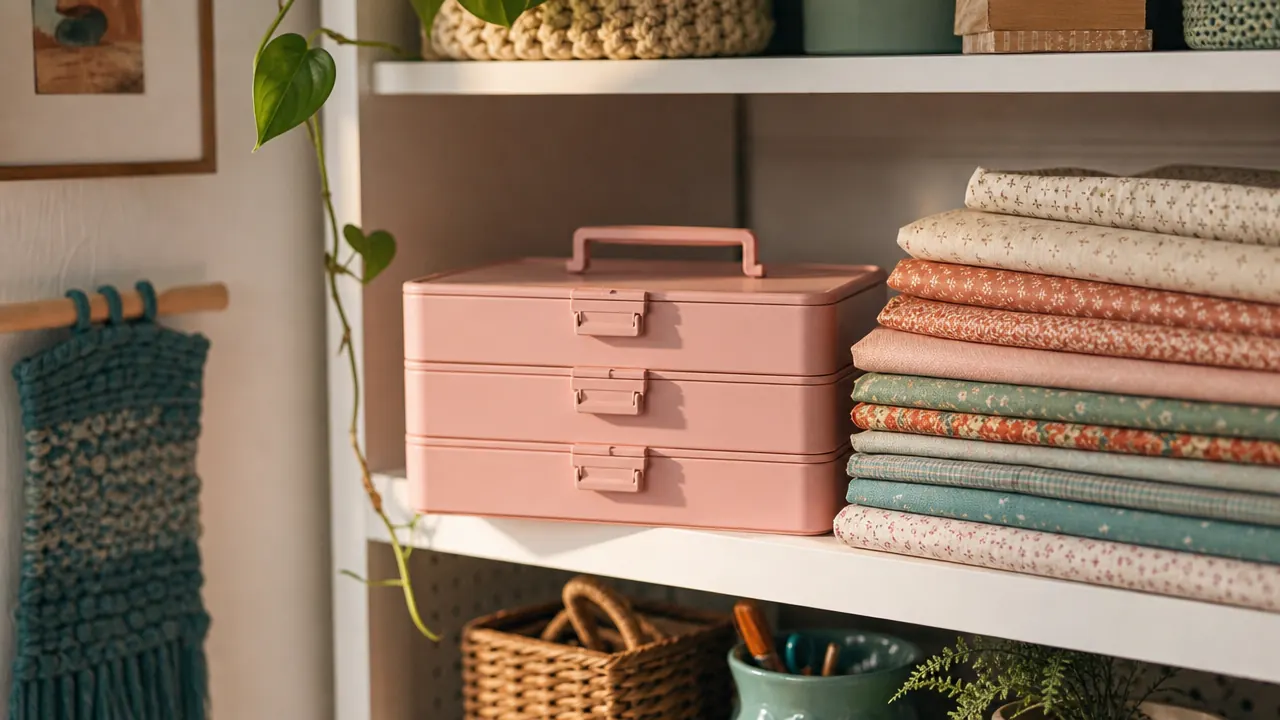
A divided organizer solves the physical clutter, but it won't stop new supplies from piling up around it if you don't give them a landing spot too. I keep a small basket next to my sewing table for anything that doesn't have an obvious home yet, a new fabric scrap, an unopened pack of needles, so it doesn't end up loose on the table again. Once a week I empty that basket into the organizer properly. A simple shelf above the table to hold the organizer when it's closed also keeps it from becoming just another thing sitting out.
It also helps to do a quick seasonal check rather than assuming your first divider setup is permanent. Every few months I open mine up and ask whether the layout still matches what I'm actually using, especially after a new project pulls in a batch of new thread colors or a new tool. A five-minute adjustment every season beats letting the whole system slowly drift back toward chaos.
One more thing worth planning for up front: what happens when your collection outgrows the case. Mine got there about three months in, once I'd added a stack of embroidery floss from a new cross-stitch kick. Rather than cramming everything back in and undoing the whole system, I moved the floss into its own small pouch that lives next to the organizer on the shelf, and left the case itself for the core sewing supplies it was set up to hold. A system that flexes when it needs to lasts a lot longer than one you force to hold everything forever.
The dividers do the sorting, but the five-minute reset at the end of every sewing night is the actual reason my table has stayed clear for months.
Step 5: Build a two-minute reset into the end of every session
This is the step that actually determines whether the system lasts. Before I stand up from the sewing table at the end of a session, I spend two minutes putting loose items back into their assigned compartments and closing the case. It sounds small, but it's the difference between a system that lasts one weekend and one that's still working four months later.
I've made this reset a habit tied to a specific trigger: I don't turn off my sewing lamp until the organizer is closed and back on its shelf. Callie has picked up the same habit with her beading supplies in the bottom tray, mostly because she knows I'll ask her to do it before she can watch her show. Attaching the reset to something you already do every session makes it stick without needing to think about it.
If you skip the reset even once, do it double the next time rather than letting two sessions of clutter stack up. That's usually where organizing systems fall apart, not because the container was wrong, but because the habit around it never got built in the first place.
Four months after setting mine up, the honest measure of whether this system works isn't that my table looks like a magazine photo. It's that I can sit down on a Sunday night, open one case, and start sewing within a minute instead of losing the first quarter of my evening to a pile I've been meaning to deal with.
Ready to build your own five-step system?
This is the exact organizer I use to keep my sewing table sorted, session after session. Check today's price and see if it fits your craft space.
Amazon Check Today's Price on Amazon →